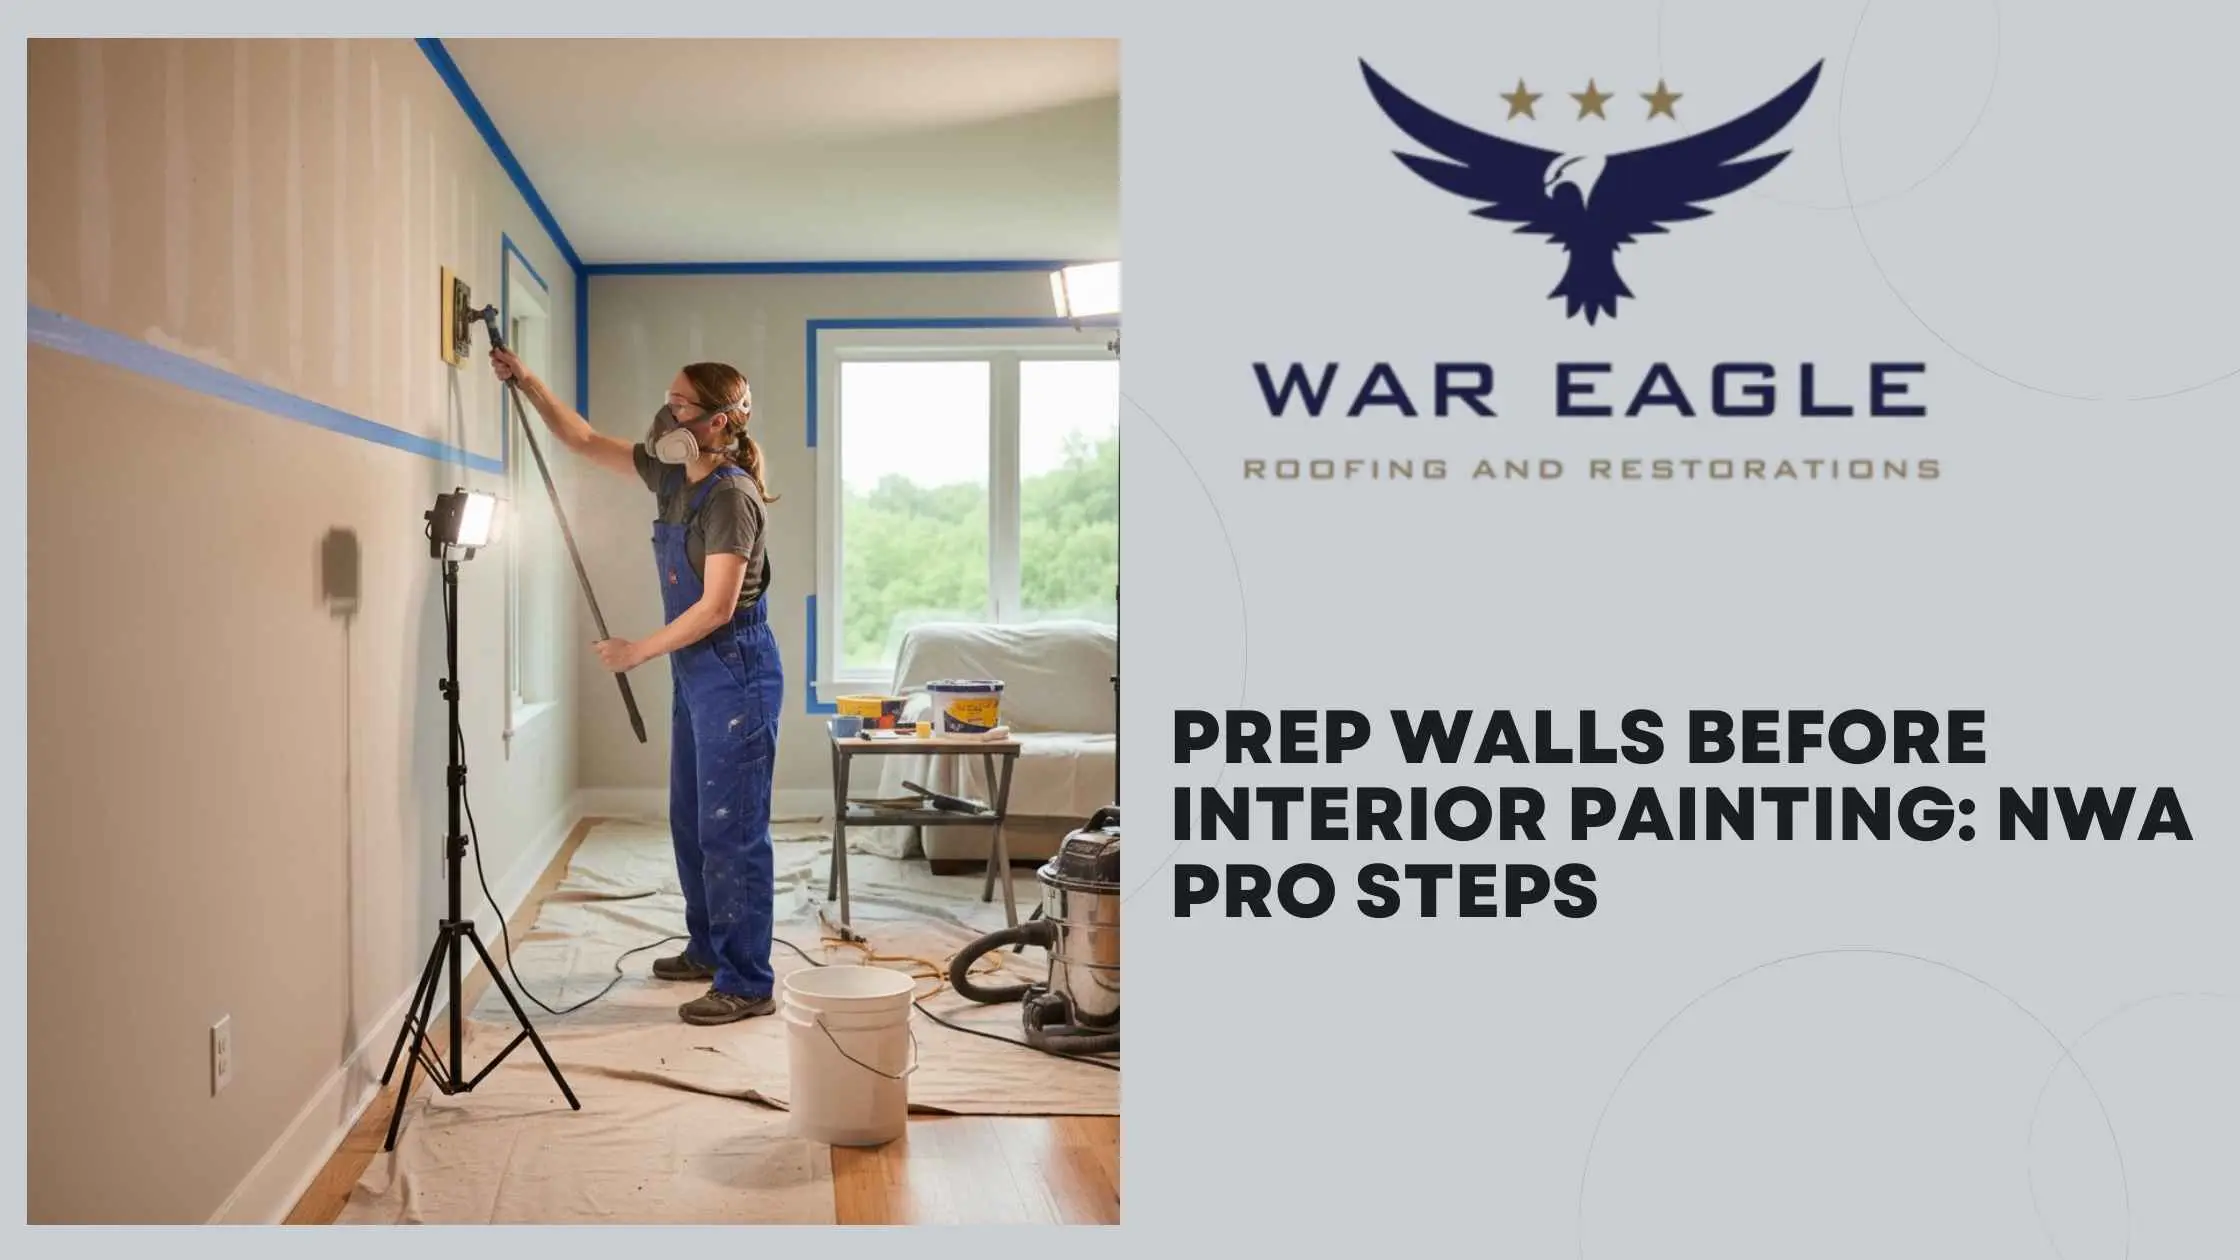
When it comes to interior painting, the secret to a flawless and long-lasting finish has less to do with the paint itself and almost everything to do with the preparation behind the scenes. In Northwest Arkansas (NWA), homeowners and businesses rely on professional painters because prepping walls correctly takes skill, time, and the right tools. As trained experts, we follow proven techniques that strengthen adhesion, smooth surfaces, and ensure every paint job looks crisp, clean, and premium.
Below, we break down the exact steps our NWA painting pros take before applying a single stroke of paint. This is not a DIY guide; it’s an inside look at how a professional service ensures top-tier results every time.
Why Proper Wall Prep Matters
Preparing walls is the foundation of every successful interior painting project. Without professional prep work, even the best paint can peel, bubble, streak, or fail prematurely.
The Key Benefits of Professional Wall Preparation
- Smoother, cleaner paint finish
- Long-lasting adhesion
- Reduced bumps, cracks, and surface flaws
- Better coverage with fewer coats
- Enhanced durability against daily wear
Our team handles all these steps with precision so your walls look beautifully updated and stay flawless for years.
Step 1 – Professional Inspection of Walls
Every project begins with a detailed inspection. We look for flaws that can affect the final result, including cracks, dents, peeling paint, water damage, or uneven textures.
What Our NWA Pros Look For
- Nail pops
- Surface moisture issues
- Loose drywall tape
- Old paint failures
- Structural cracks
- Uneven wall joints
Identifying issues early helps us develop a customized preparation plan for your walls.
Step 2 – Complete Cleaning of Wall Surfaces
Dust, oils, and residue prevent paint from bonding properly. That’s why professional-level cleaning is crucial.
Cleaning Methods We Use
- Dusting and vacuuming
- Removing surface oils and smudges
- Degreasing kitchens and high-touch areas
- Treating mildew or moisture stains
We use industry-grade cleaners that are safe, effective, and tailored to different wall textures and paint types.
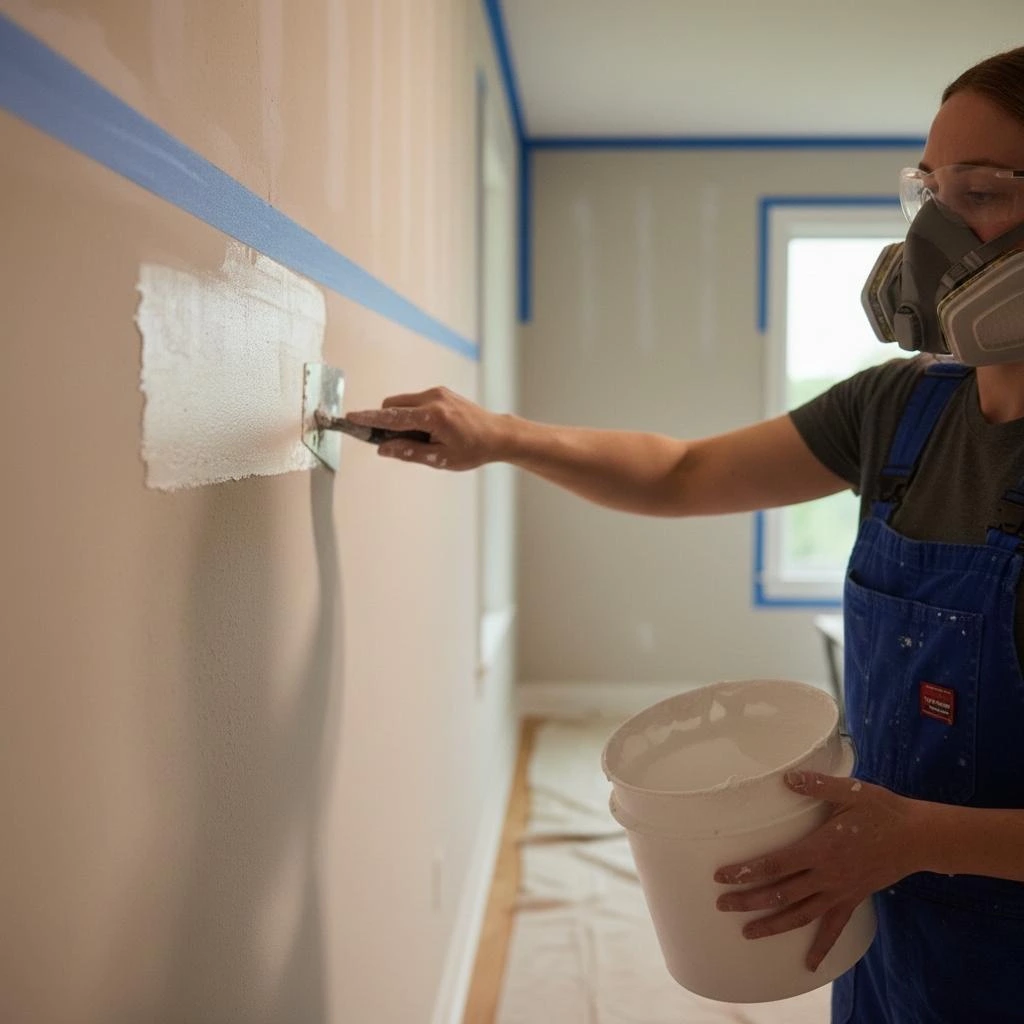
Step 3 – Repairing Cracks, Holes, and Imperfections
Our experts repair all visible and hidden wall damage to ensure seamless results.
Common Repairs We Perform
- Filling nail holes
- Patching dents
- Repairing drywall cracks
- Replacing damaged sections
- Re-taping exposed seams
- Sanding and smoothing uneven textures
Proper repairs prevent future paint cracking and keep walls looking professionally finished.
Step 4 – Sanding for a Smooth and Even Surface
Sanding is one of the most underestimated steps in interior painting. Professionals know that sanding improves paint adhesion and removes minor imperfections.
How We Sand Walls Like Pros
- Light sanding for smooth surfaces
- Medium sanding for patched walls
- Full-surface sanding for glossy finishes
- Dust removal with HEPA vacuums
We use professional tools that keep dust low and surfaces perfectly even.
Step 5 – Caulking Gaps and Seams
Caulking ensures crisp, clean paint lines, especially around trim, corners, and windows.
Areas We Professionally Caulk
- Baseboards
- Crown molding
- Window frames
- Door casings
- Wall-to-ceiling joints
- Corner seams
This step enhances both aesthetics and long-term durability.
Step 6 – Priming Walls for Maximum Adhesion
Primer is essential for achieving full, even paint coverage. Skipping primer, or using the wrong type, can lead to blotchy finishes or premature wear.
Types of Primers We Use
- Stain-blocking primer
- Bonding primer
- Drywall primer
- Odor-sealing primer
- Multi-surface primer
Our pros select the right primer depending on your wall type, previous paint, and desired finish.
Step 7 – Masking and Protecting Your Space
Before painting begins, we ensure your home or business stays clean and protected.
Our Protection Process
- Covering floors with drop cloths
- Shielding furniture with plastic
- Taping edges for crisp lines
- Masking outlets and switches
- Protecting countertops and fixtures
This professional attention to detail ensures a clean, stress-free experience for our clients.
Step 8 – Final Surface Check Before Painting
Once everything is repaired, cleaned, sanded, and primed, our team performs a final walkthrough.
What We Verify
- Smoothness of patched areas
- Uniform primer coverage
- Cleanliness of edges and trim
- Surface dryness and readiness
- No dust or debris remaining
Only after confirming perfection do we begin painting.
Why NWA Homeowners and Businesses Trust Our Interior Painting Pros
Our wall-prep process is what sets us apart in the Northwest Arkansas painting industry. We don’t rush or cut corners; every project gets meticulous prep for outstanding results.
What Makes Our Service Different
- Experienced, trained technicians
- Premium-quality materials and tools
- Complete dust and debris control
- Detailed repairs for long-lasting results
- Transparent communication
- Clean, efficient project timelines
When you book interior painting with us, you’re getting not just painters, but full-service wall-prep professionals committed to excellence.
Final Thoughts
Interior painting is more than choosing a color; it’s about creating a smooth, durable, and flawless surface. Proper wall preparation is the foundation of a paint job that looks beautiful today and still holds strong years down the road. Our NWA team follows a detailed, professional prep process that guarantees superior results every single time.
Call to Action
Ready for perfectly prepped walls and stunning interior paint results?
Our Northwest Arkansas painting pros deliver premium-quality prep work, expert repairs, and immaculate finishes every time.
Contact us today for your free quote and transform your walls with professional precision!